
ClickUp has many views to give you a personalized perspective on your tasks. In ClickUp’s Board view, tasks are organized in columns based on the due date, assignee, and more. Board view’s powerful drag-and-drop interface makes it a go-to option for visual workers. Board view also offers an added layer of organization with Swimlanes.
Swimlanes organize complex information into categorized rows. A Swimlane diagram sorts the steps of a process into horizontal or vertical Swimlanes that represent categories.
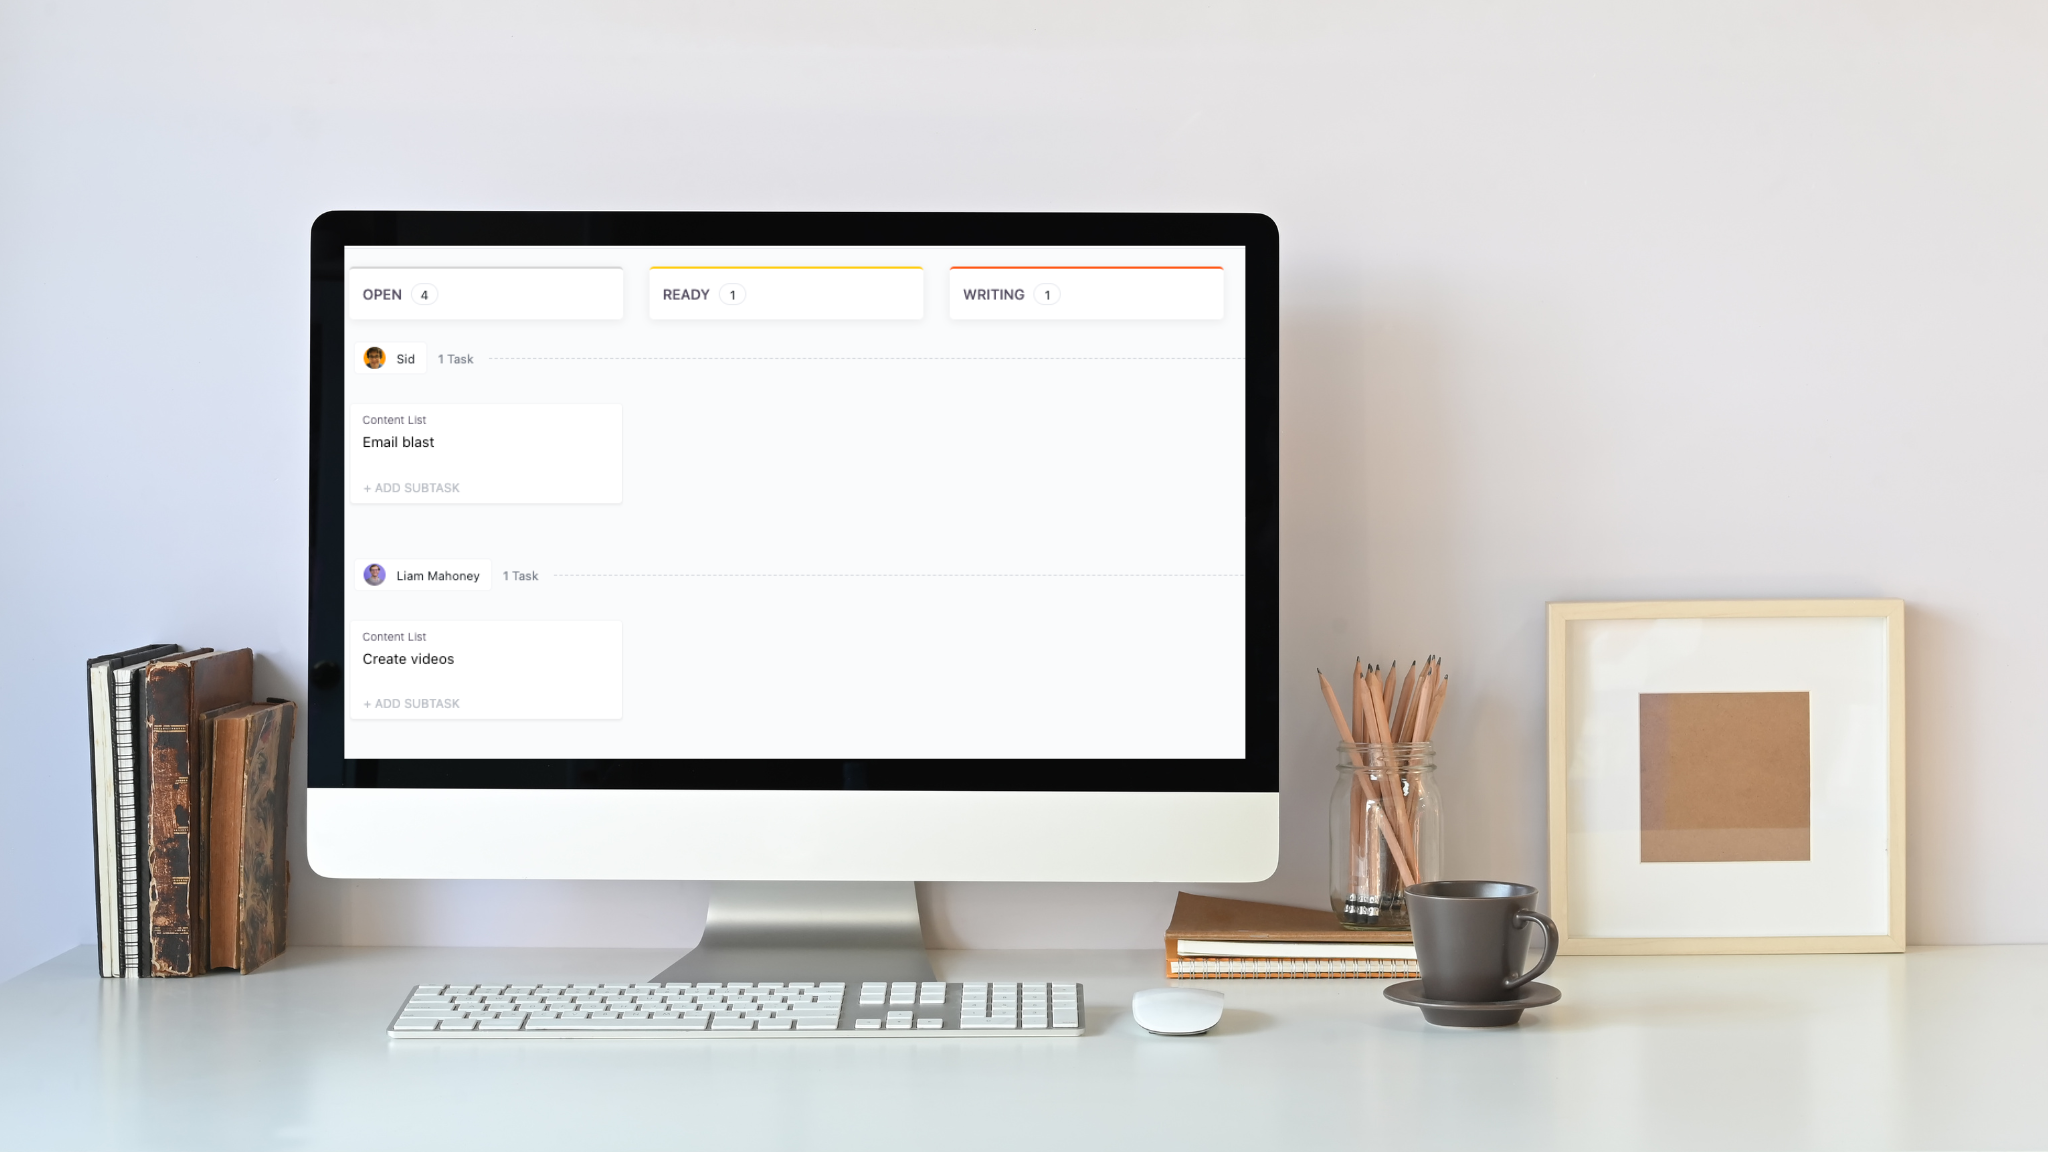
They are often used to organize tasks into rows based on a second field. For example, you can organize by status and priority to create a high-level overview of your team’s most important tasks.
Adding a Swimlane
Create a Board view at any level of your Workspace. Choose whether you want to focus on a single List, an entire Folder, or even all Spaces across your Workspace using the Everything view.
In Board view, you’ll see a dropdown menu with two sections:
- Group by: Arrange columns by one field, like status or assignee.
- Swimlanes: Arrange rows by any field that’s not set for columns.

To access the menus and set up a Swimlane:
- Open a Board view.
- From the right side of the Views Bar, open the Group by menu.
- Select a group by option.
- From the bottom of the menu, enable Swimlanes.
- Select a Swimlanes option.

Try different combinations of fields to see your data in a new way and customize it for different project needs.
Rearrange columns and rows
Once you select both fields, you can rearrange your columns and rows to get a different point of view. The selected field will have a checkmark next to it. The field selected in one menu will be grayed out in the other menu.
To rearrange:
From either menu, click the grayed-out option, and the columns and rows will swap.

Creating new tasks
You can quickly create a new task from a Swimlane. The task ends up where you need it with fewer clicks!
To create a task from your Swimlane:
- Hover over an existing task to display the + New Task button.
- Click + New Task.
- Create the task.

Even more organization
Board view gives you a great visual of all your tasks. You can add more information by turning on different Board view settings to keep yourself organized.
- View Settings by clicking the … in the right-hand corner of your Board view.
- You can add the time tracker, display assignees, and add images on the card face.

You can also organize your cards with custom fields on the card.

Now you can see everything you need without clicking and going into the card.
ClickUp Swimlanes offer much flexibility in how you can view and organize your tasks for all the different projects you may have.
Do you want to learn How to Offer ClickUp as a Service? Join the two-day workshop that will teach you how to develop your own unique ClickUp service offerings & amp up your profits in 2023! This workshop is not just a “what to do” but a deeper dive into “how to do it”. Leave this workshop with a clear ClickUp service offering & roadmap so you can take immediate action. Sign up here.
How to Organize Your ClickUp Board View with Swimlanes


Be the first to comment
Leave a Reply
DFY Services
DIY TEmplates
For more, check out my services to help you streamline, systemize, and optimize your systems!

Join over 1500 others in the ClickUp for Entrepreneurs, Agencies, Marketers, & CEOs
FREE Facebook group to discuss, share, and learn about ClickUp solutions across
industries and user levels
Tips, Feedback, and Support Across Industries
Join the ClickUp Community

