
Forms are a view inside of ClickUp that can be added at the folder or list level. They are incredibly versatile and customizable and keep all your information in one place instead of in multiple software, such as Google Forms or TypeForm.
Creating the Form
To add a Form, you’ll add a page view from the top of ClickUp.

To set up a form, it’s simple drag and drop. You can pull any fields to the form from the left side or create custom fields towards the bottom of the left side.

Once you add in the fields you want, you can rename the fields as well. This is so the person filling out the form sees a different title than the field in ClickUp. It’s helpful if you need to use more words in the description than the field in ClickUp.

You also can add custom fields or columns that you have already set up at the List Level. There are two ways to do this.
- Inside the list, create a Custom Field. Then add that field to the form edit.

Enter in the field data.

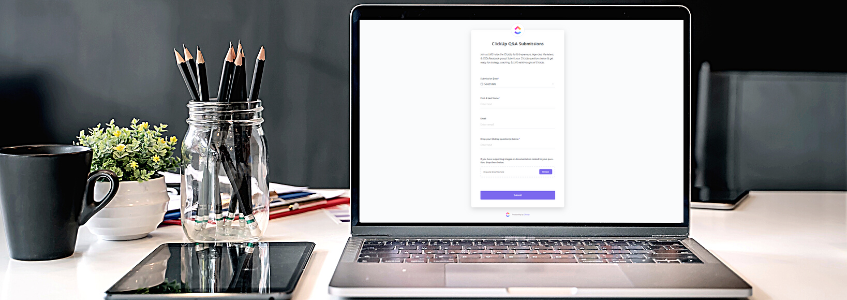
Once you’ve created the Field, they’ll be available to add to the form on the left-hand side of the form edit, which will appear like this on the viewer’s side.

- You can also pull fields that exist in other places inside of the workspace. You’ll do this by clicking on “Add Custom Field” from the left-hand side of the form editor.

You’ll be able to select any field currently being used in that workspace to create a custom field on your form.
Submitting the form
When a submission is made via a form, you can select what happens with that form from the right-hand menu. You can choose where it saves the task, who it’s assigned to, and even what template to apply to the task.

You can also identify what page is shown when the form is submitted. It can either show the default thank you page or add a redirect.

Automations with Forms
One of the great things about Forms is that you can use automation to create specific actions within ClickUp.

Some of those are:
- Send an email when the form is submitted
- Create a task with the form information
- Assign a status
- Change the due date
- Apply a template
- And so much more!
Utilizing Email Within The Task Card
Another great feature of ClickUp is emailing directly within a task card. If the receiver replies on the same email thread, it will pull the response back into the ClickUp task card. It keeps communication streamlined without going back and forth to your email box.
To email:
- A little envelope icon is within the comments box on a task card. Click on that to switch to email
- Fill out the To email, subject line, and body then hit send.
- You can add signatures, graphics, attachments, etc., just like in your regular email box.

Looking for more support with ClickUp? Check out LevelUp with ClickUp.
It’s a 12-week program with 30+ modules on how to utilize ALL the functionalities within ClickUp. You’ll discover best practices for operational practices, team management, client management, sales and marketing, and more!
ClickUp 101 – Forms & Email


Be the first to comment
Leave a Reply
DFY Services
DIY TEmplates
For more, check out my services to help you streamline, systemize, and optimize your systems!

Join over 1500 others in the ClickUp for Entrepreneurs, Agencies, Marketers, & CEOs
FREE Facebook group to discuss, share, and learn about ClickUp solutions across
industries and user levels
Tips, Feedback, and Support Across Industries
Join the ClickUp Community

